Adjustable Theo Jansen Linkage
What is the Theo Jansen Linkage?

The Theo Jansen Linkage (TJL) is a mechanical construct that mimics the walking motion of a biological being. The specific geometry of this linkage is designed for flat ground. My interest in this projects stems from wanting to design a variant of this mechanism that is able to mimic different gait patterns for different functions (like climbing stairs or obstacle avoidance)
Prototyping
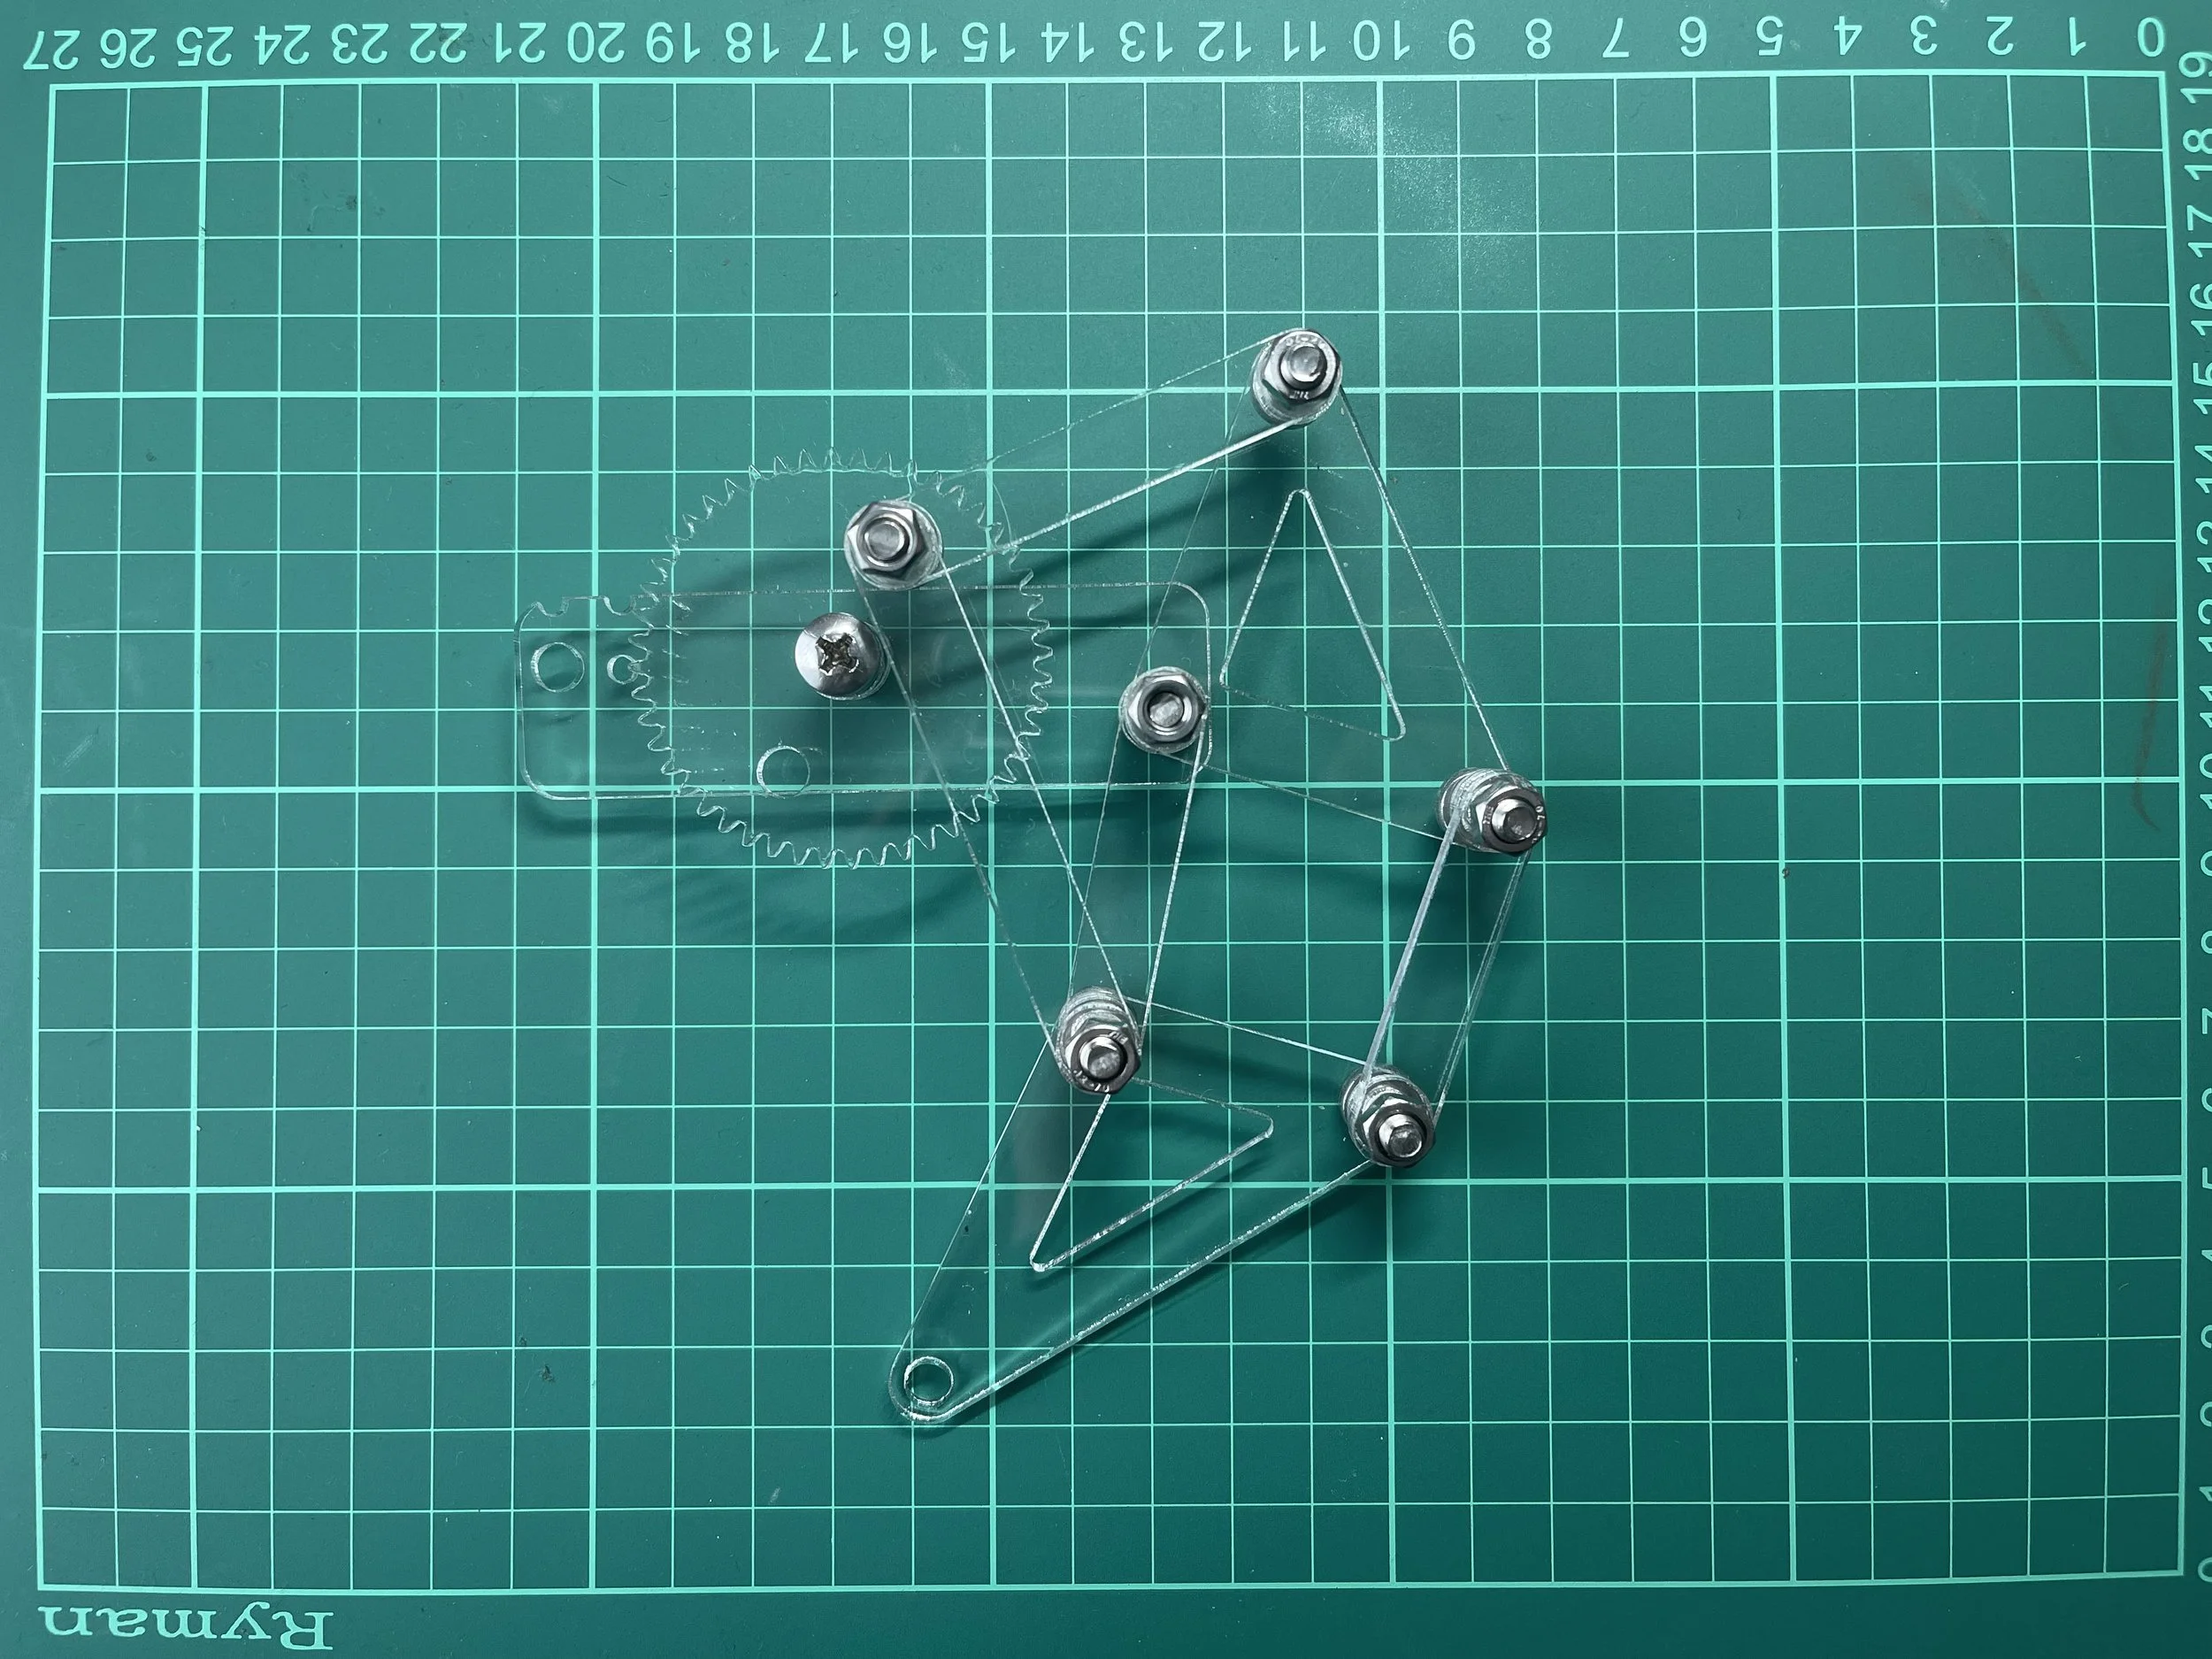
Initial TJL Construction
My first prototype consisted of clear laser cut links, and nuts and bolts as the joint connections. The nuts and bolts kept loosening as the individual links rotated and the whole mechanism loosened.

Refined TJL
For my second prototype I replaced the nuts and bolts with axles and shaft collars and made small spacers to fix the width of the overall design. This made this linkage more stable and easier to set in motion
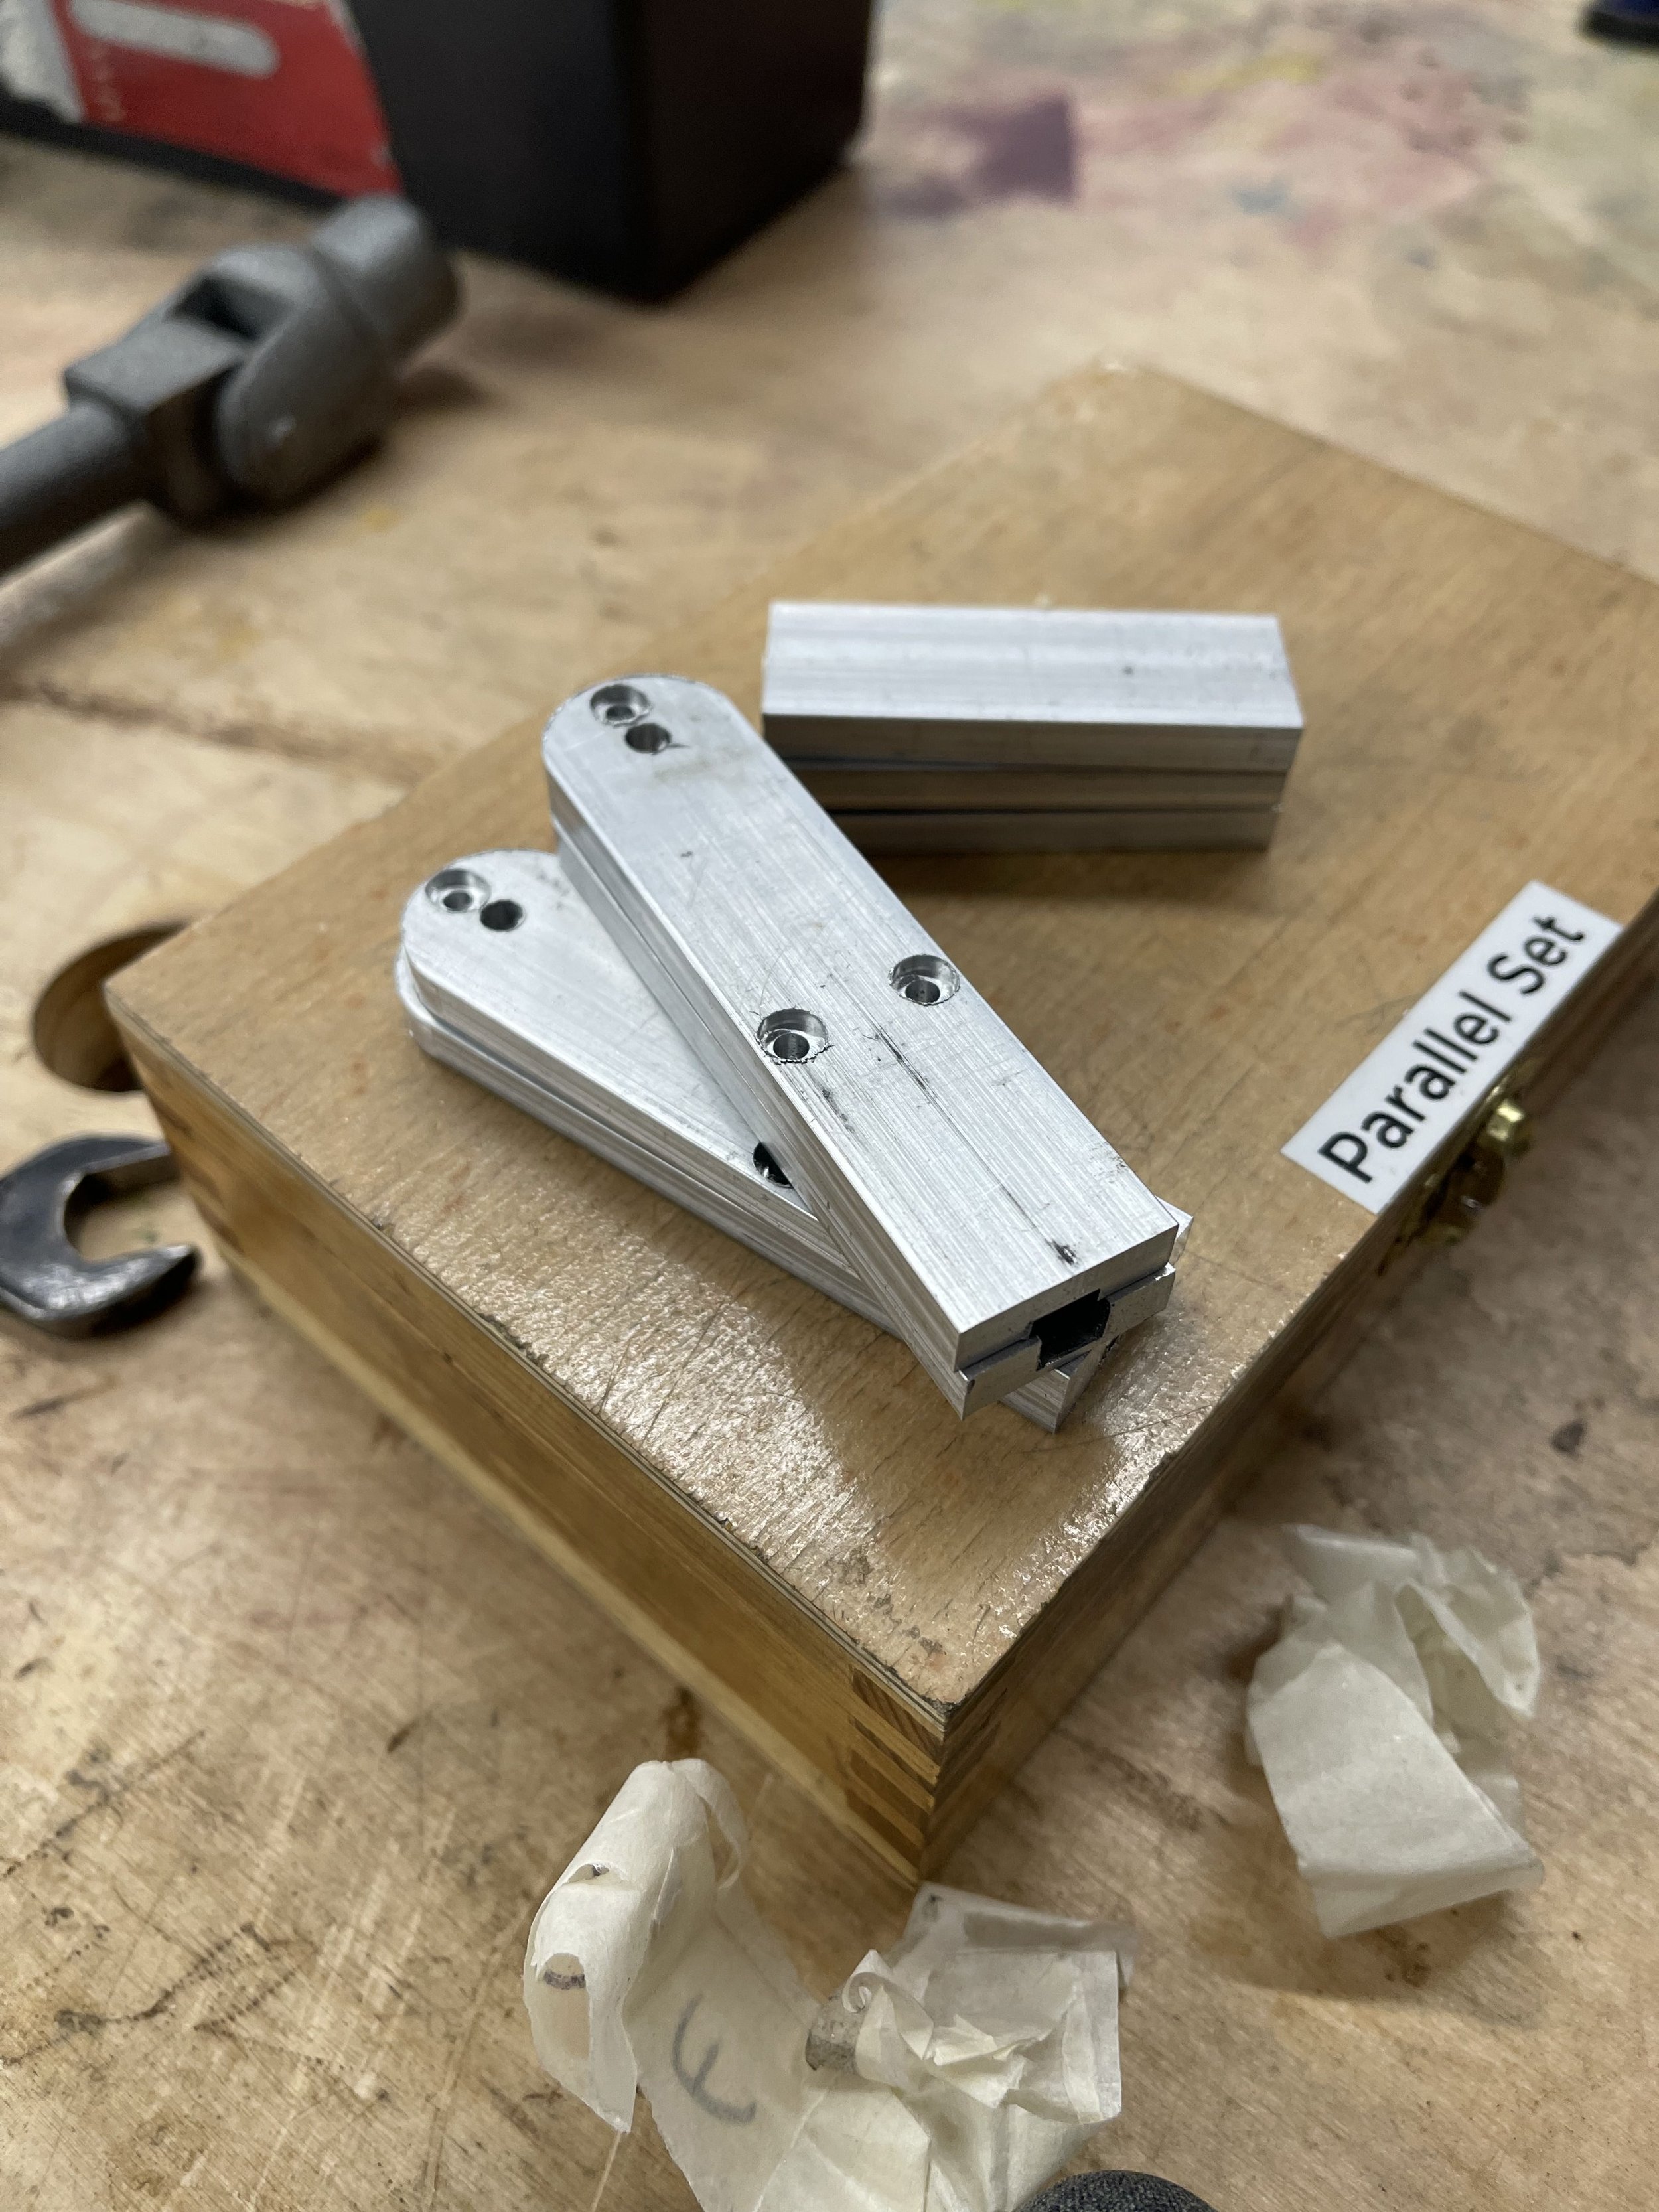
Extending Link
Once I was satisfied with my fixed TJL, I went on to prototype a linkage that would be able to change length. My first prototype was a large aluminum mechanism consisting of two caps and a central key. The caps have a steel screw that is tightened onto the key to lock the link into various lengths. Although I was satisfied with the mechanical design, the size would have been too large to create a full linkage out of.


Link Minimum Extension

Link Maximum Extension

Machinable Wax Link
I scaled the aluminum prototype down and used an Othermill Pro to machine a wax version. Once I was happy with the design I moved on to production
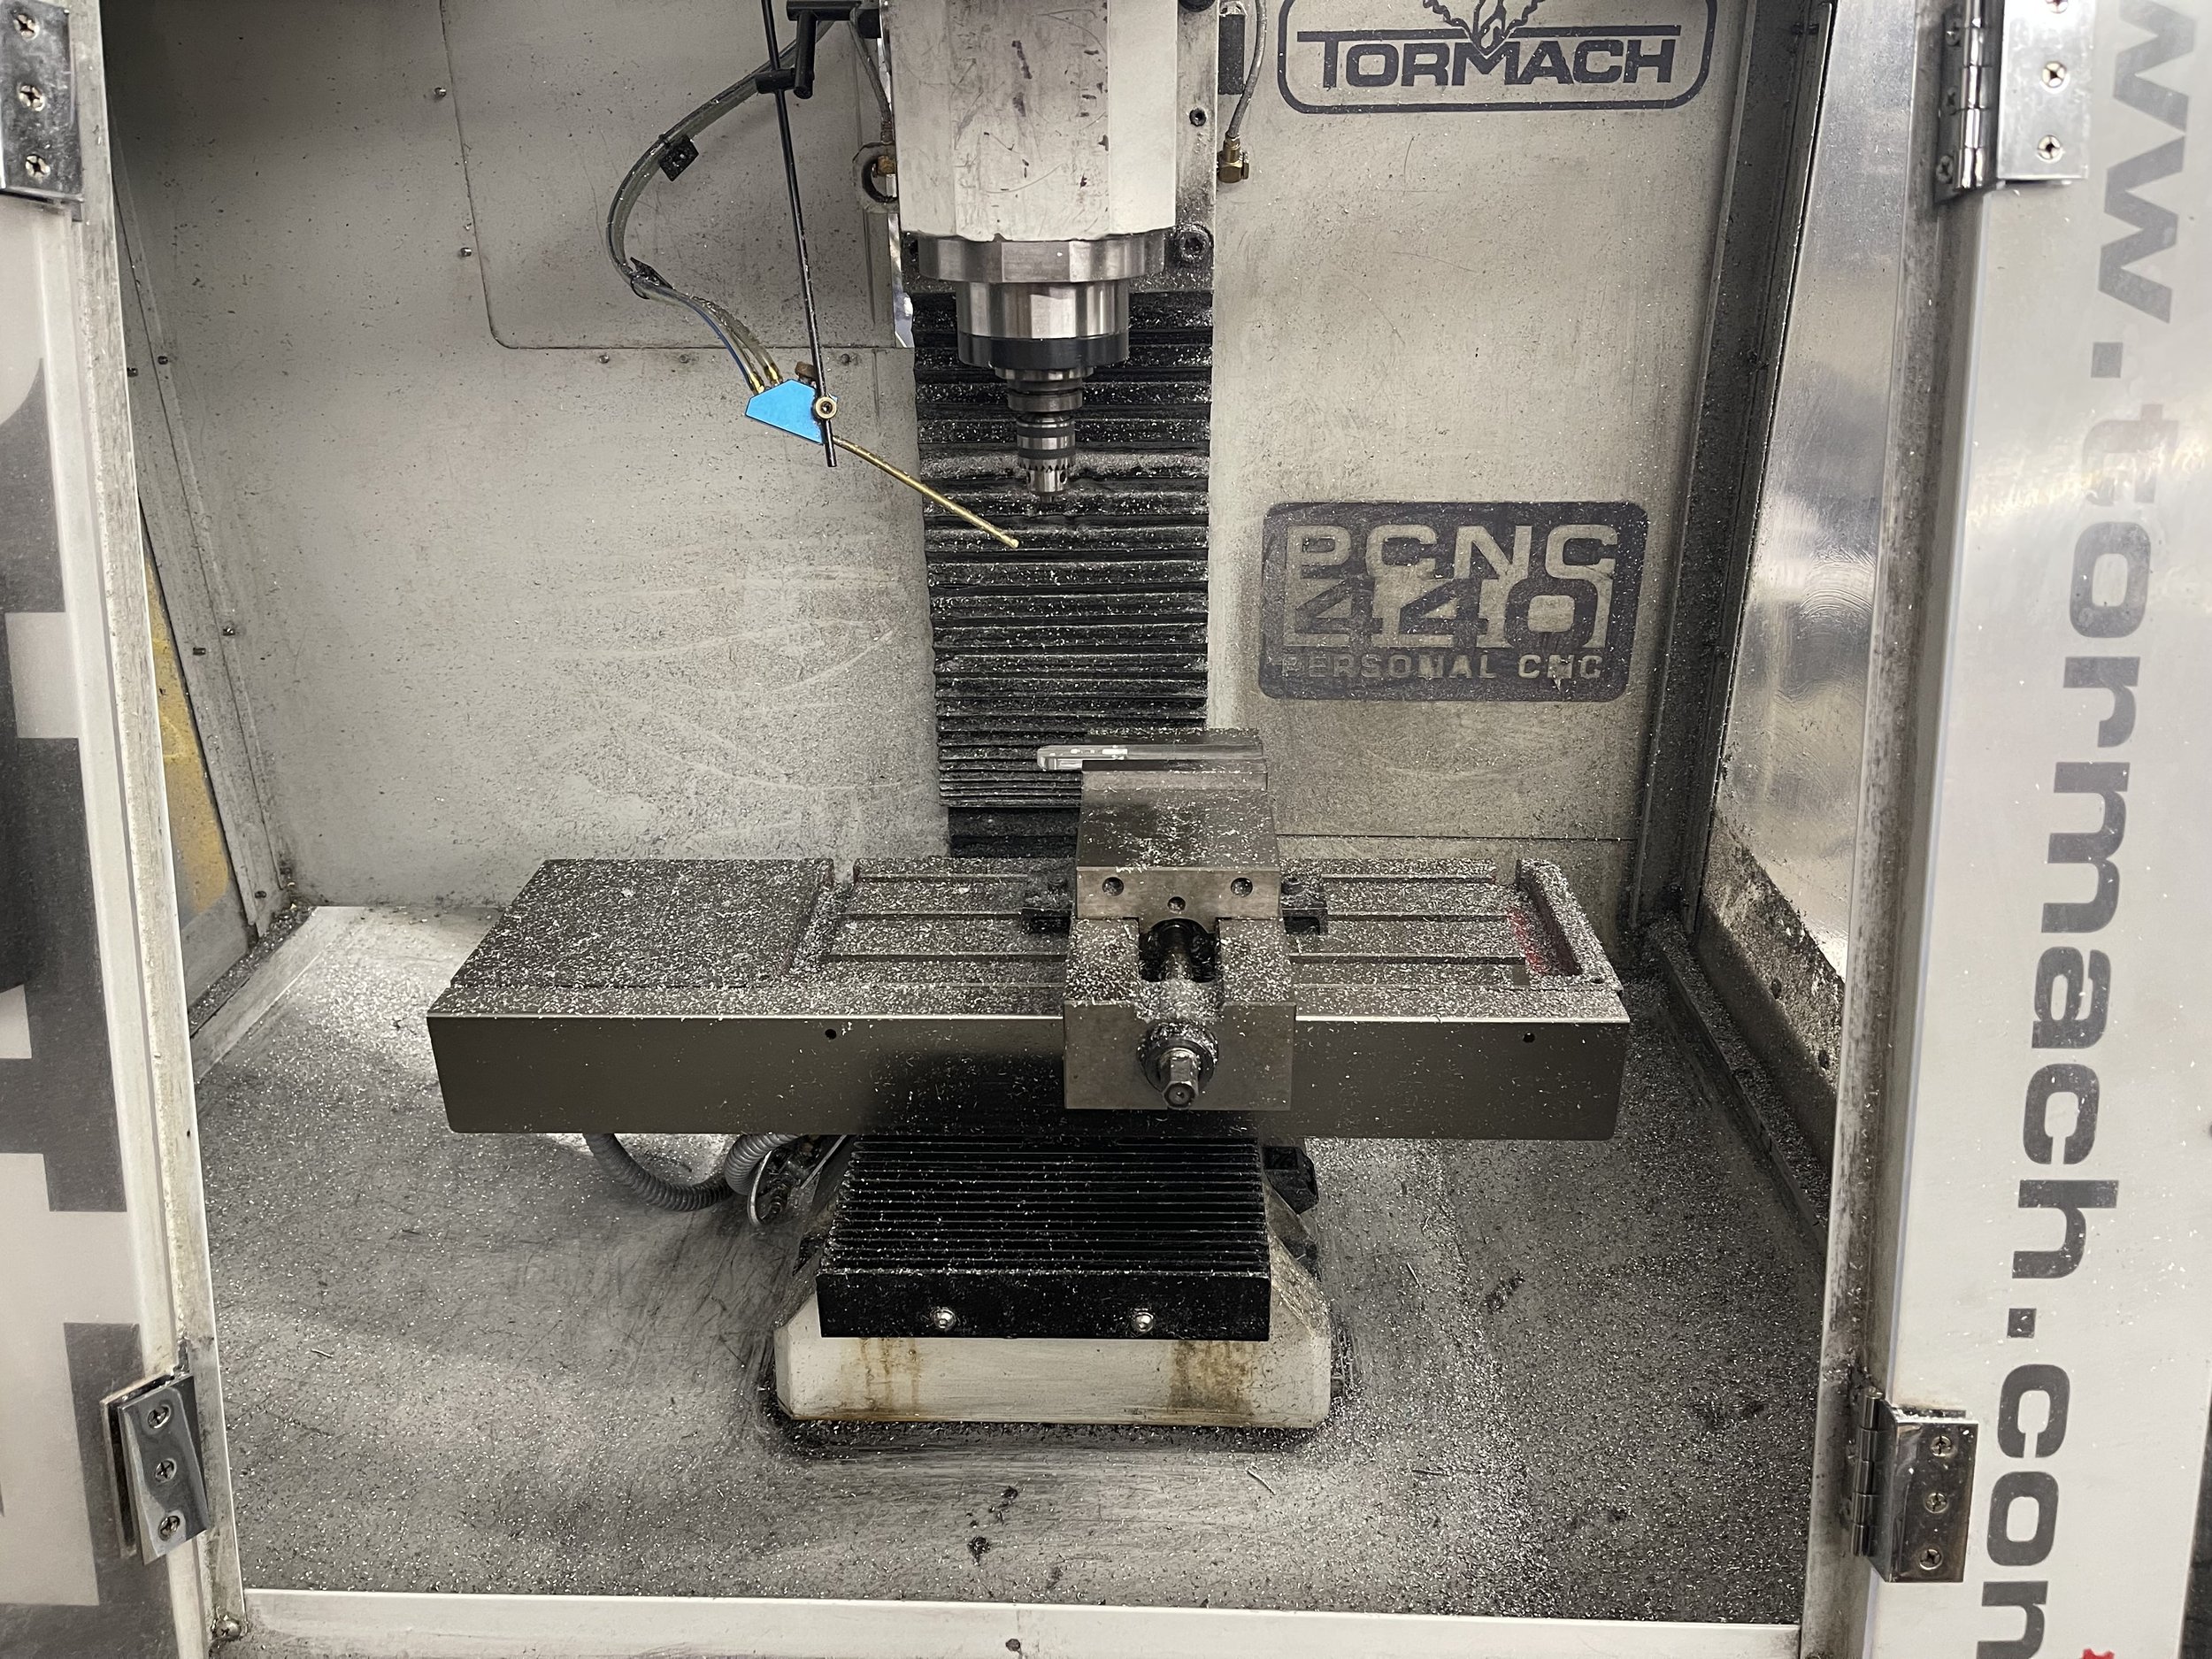
Production
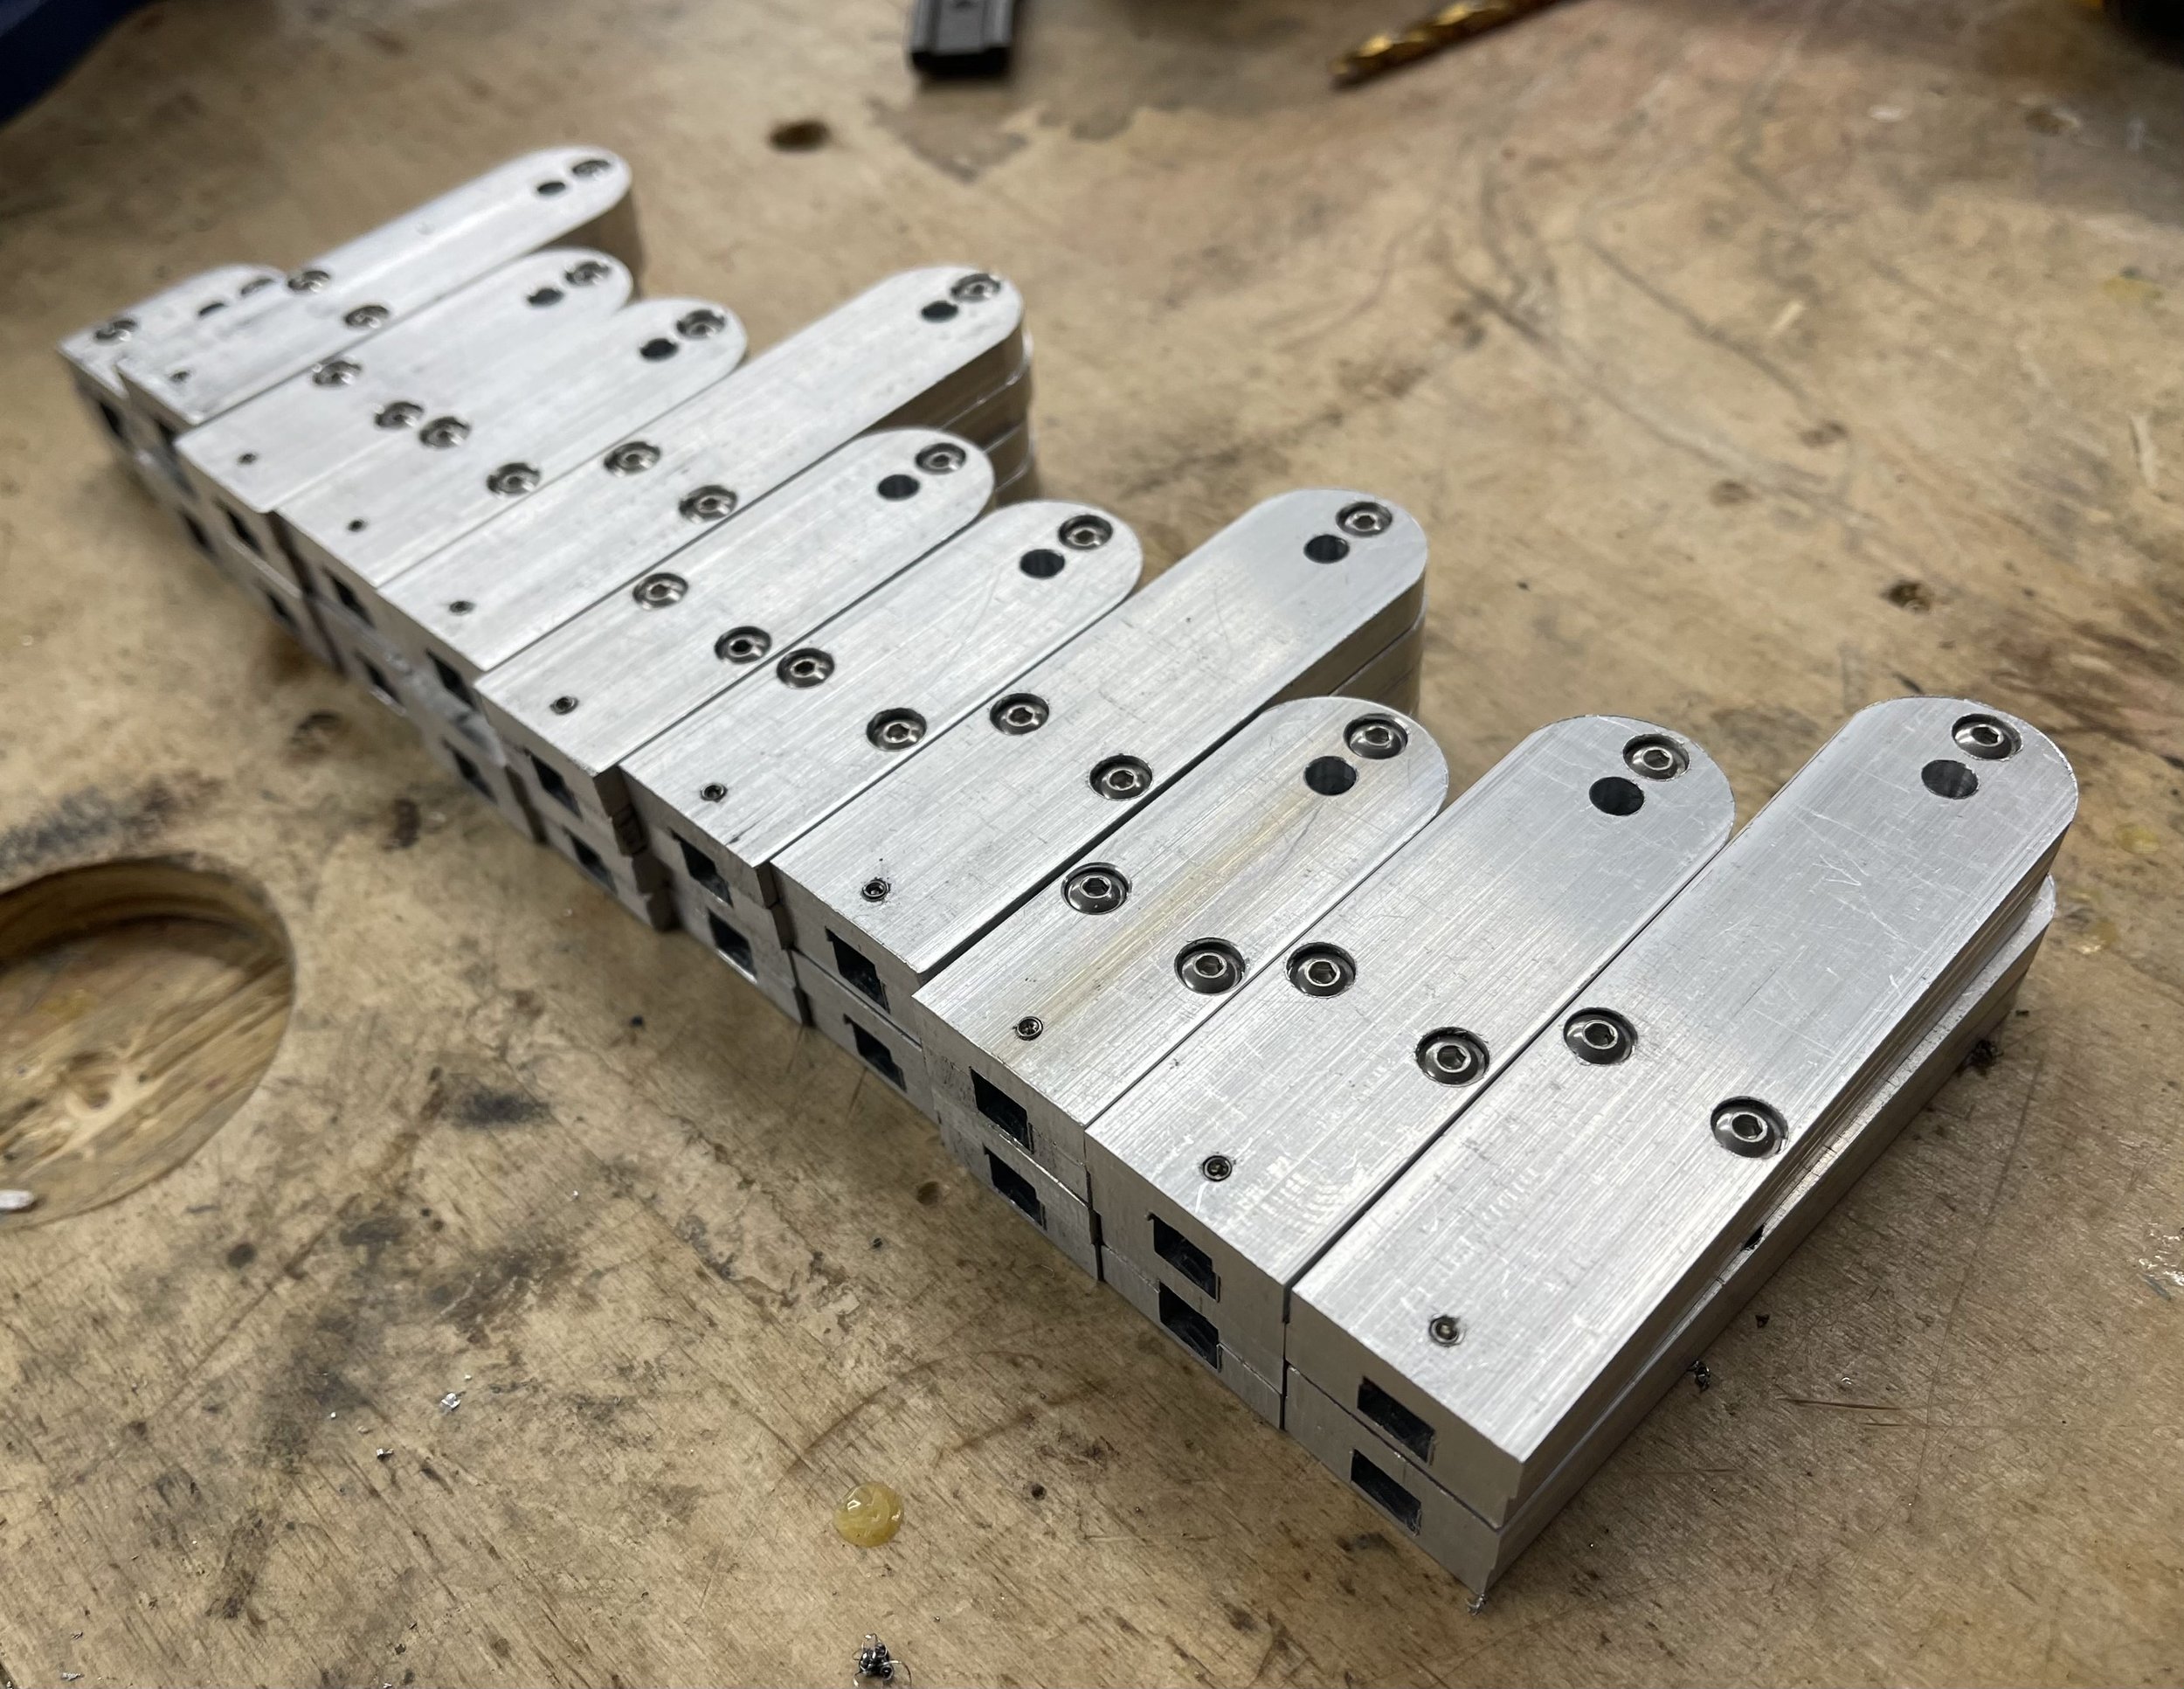
Once the design was finalized, I began to produce 44 unique parts using the Tormach PCNC440. Starting from four feet of aluminum bar I segmented, designed toolpaths, and organized a workflow to efficiently create these parts

Initial Link Blanks
Initial vs Final Links

Final Links

Final Links
Links Organized
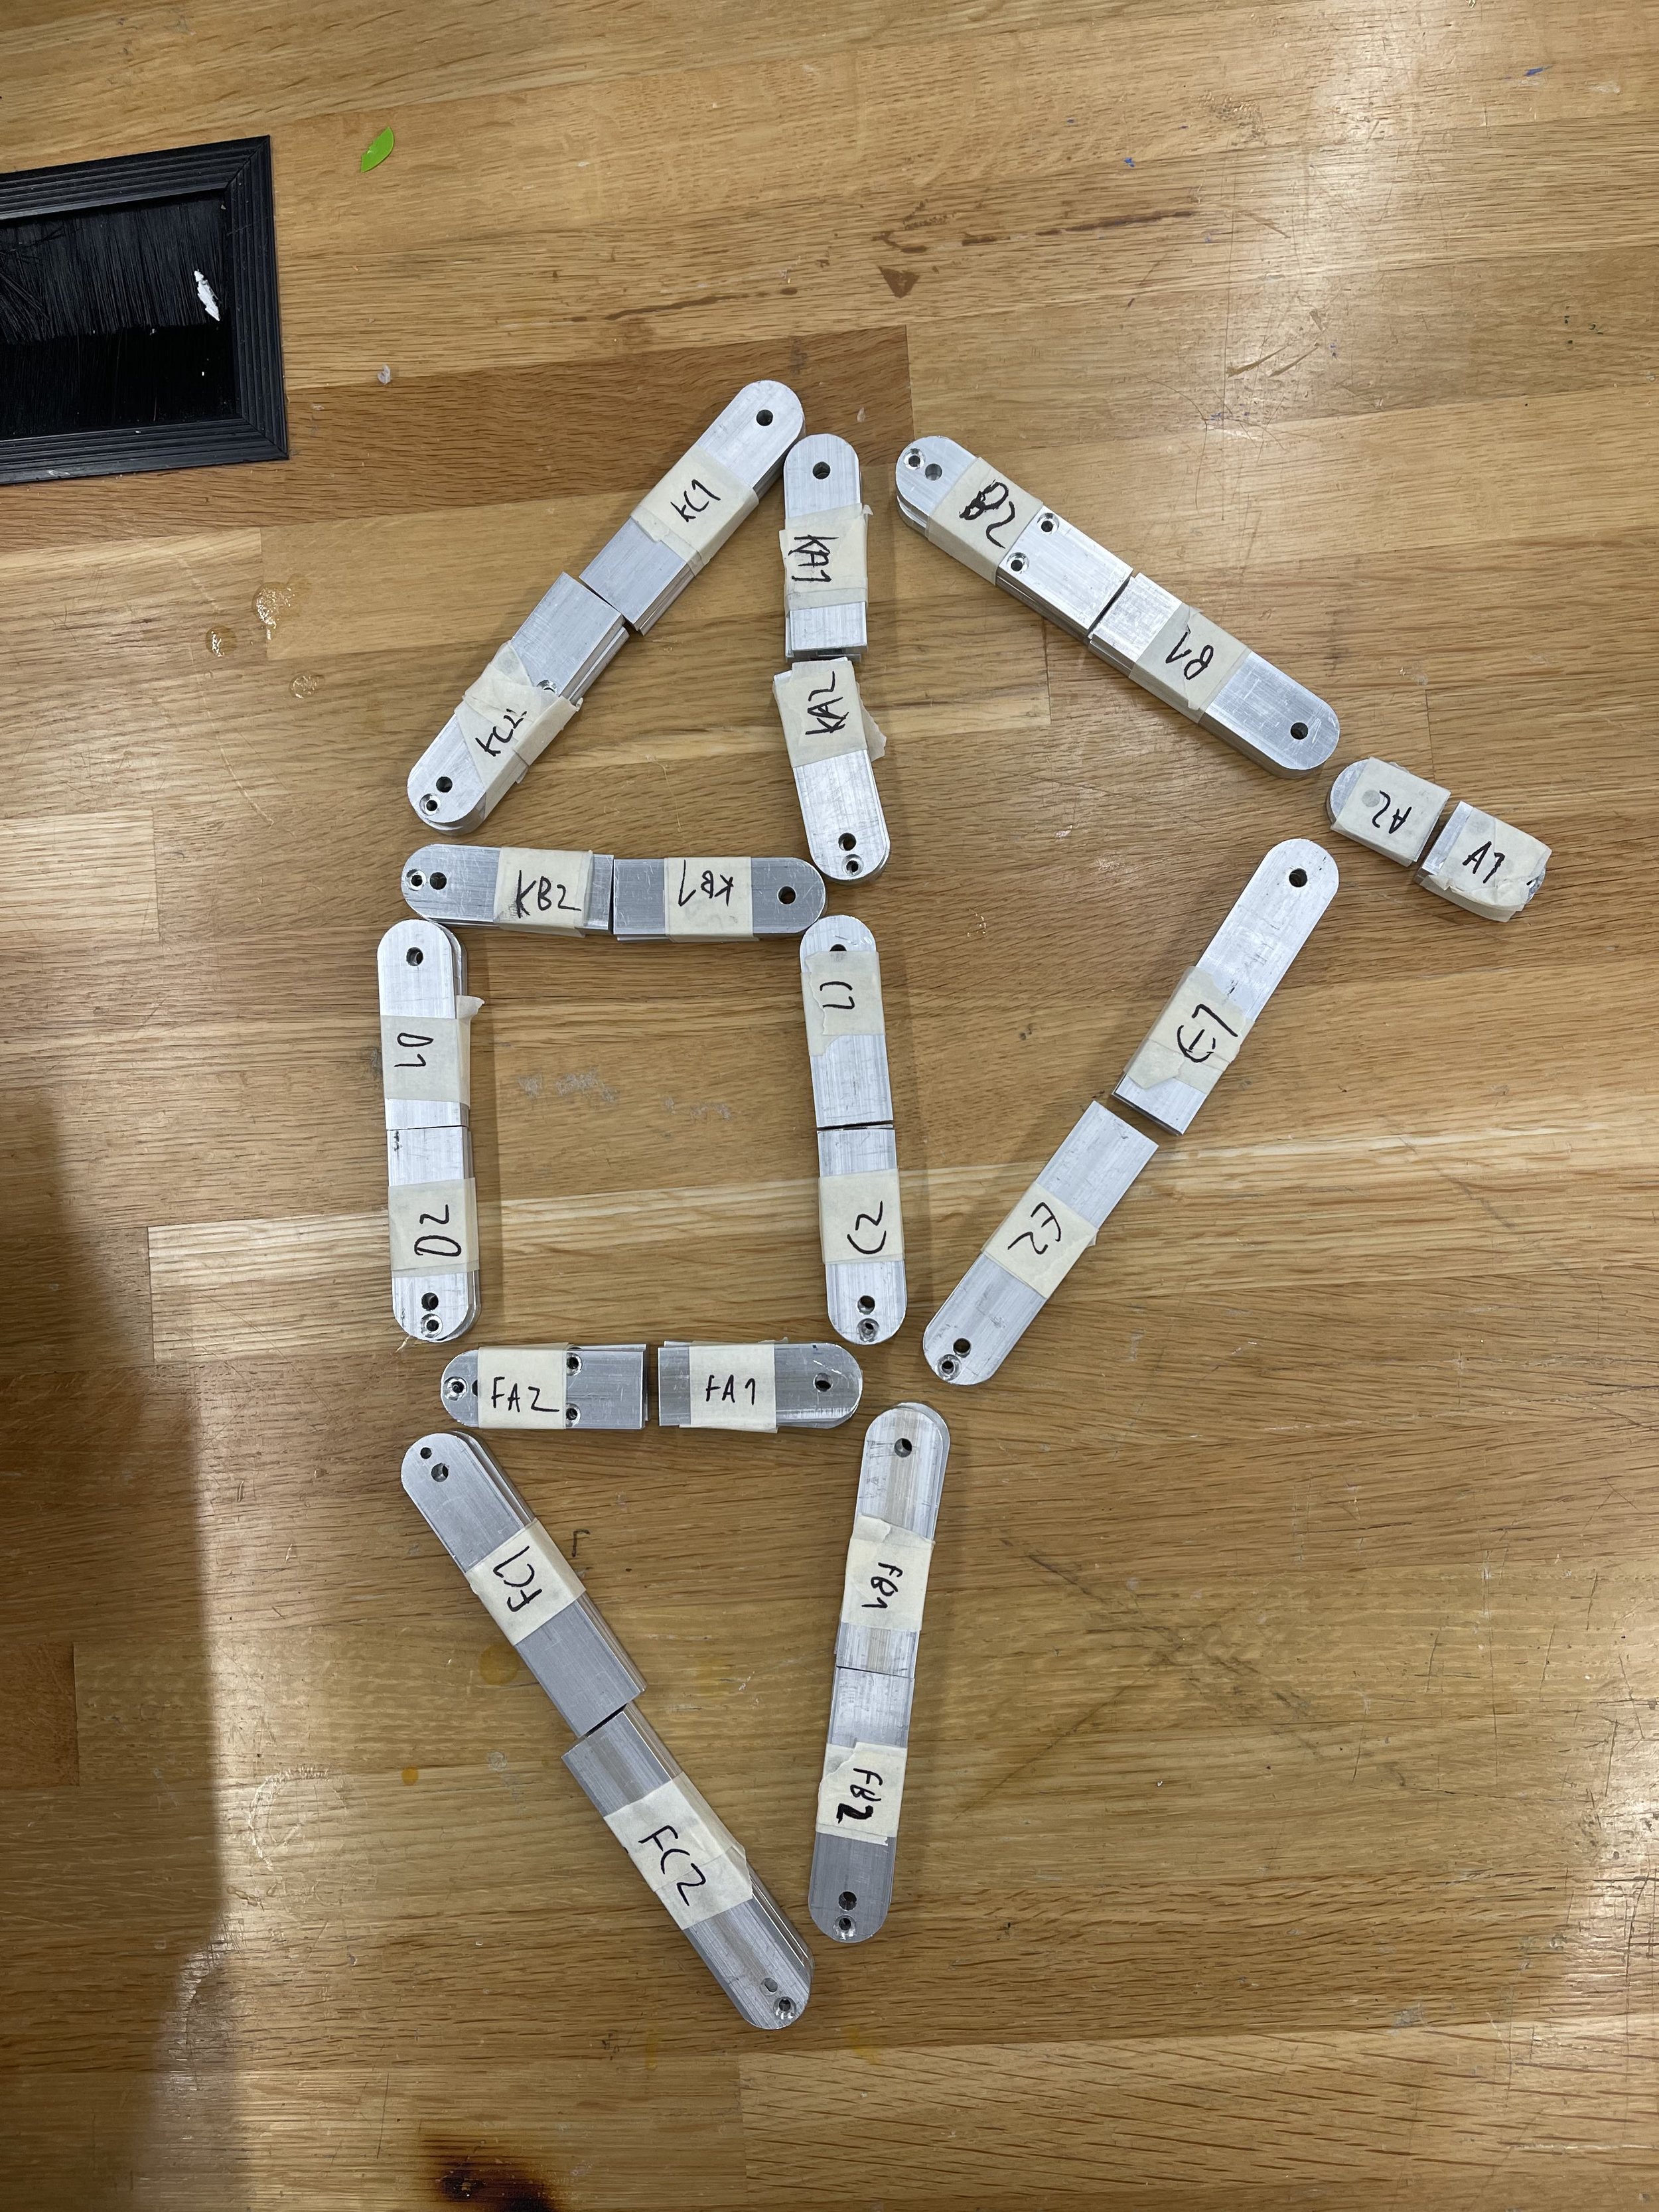
Arranged Links

Final Assembly
Once all the links were manufactured, final assembly consisted of bolting all the links together, connecting them through axles, and fixing the mechanism to the base
